
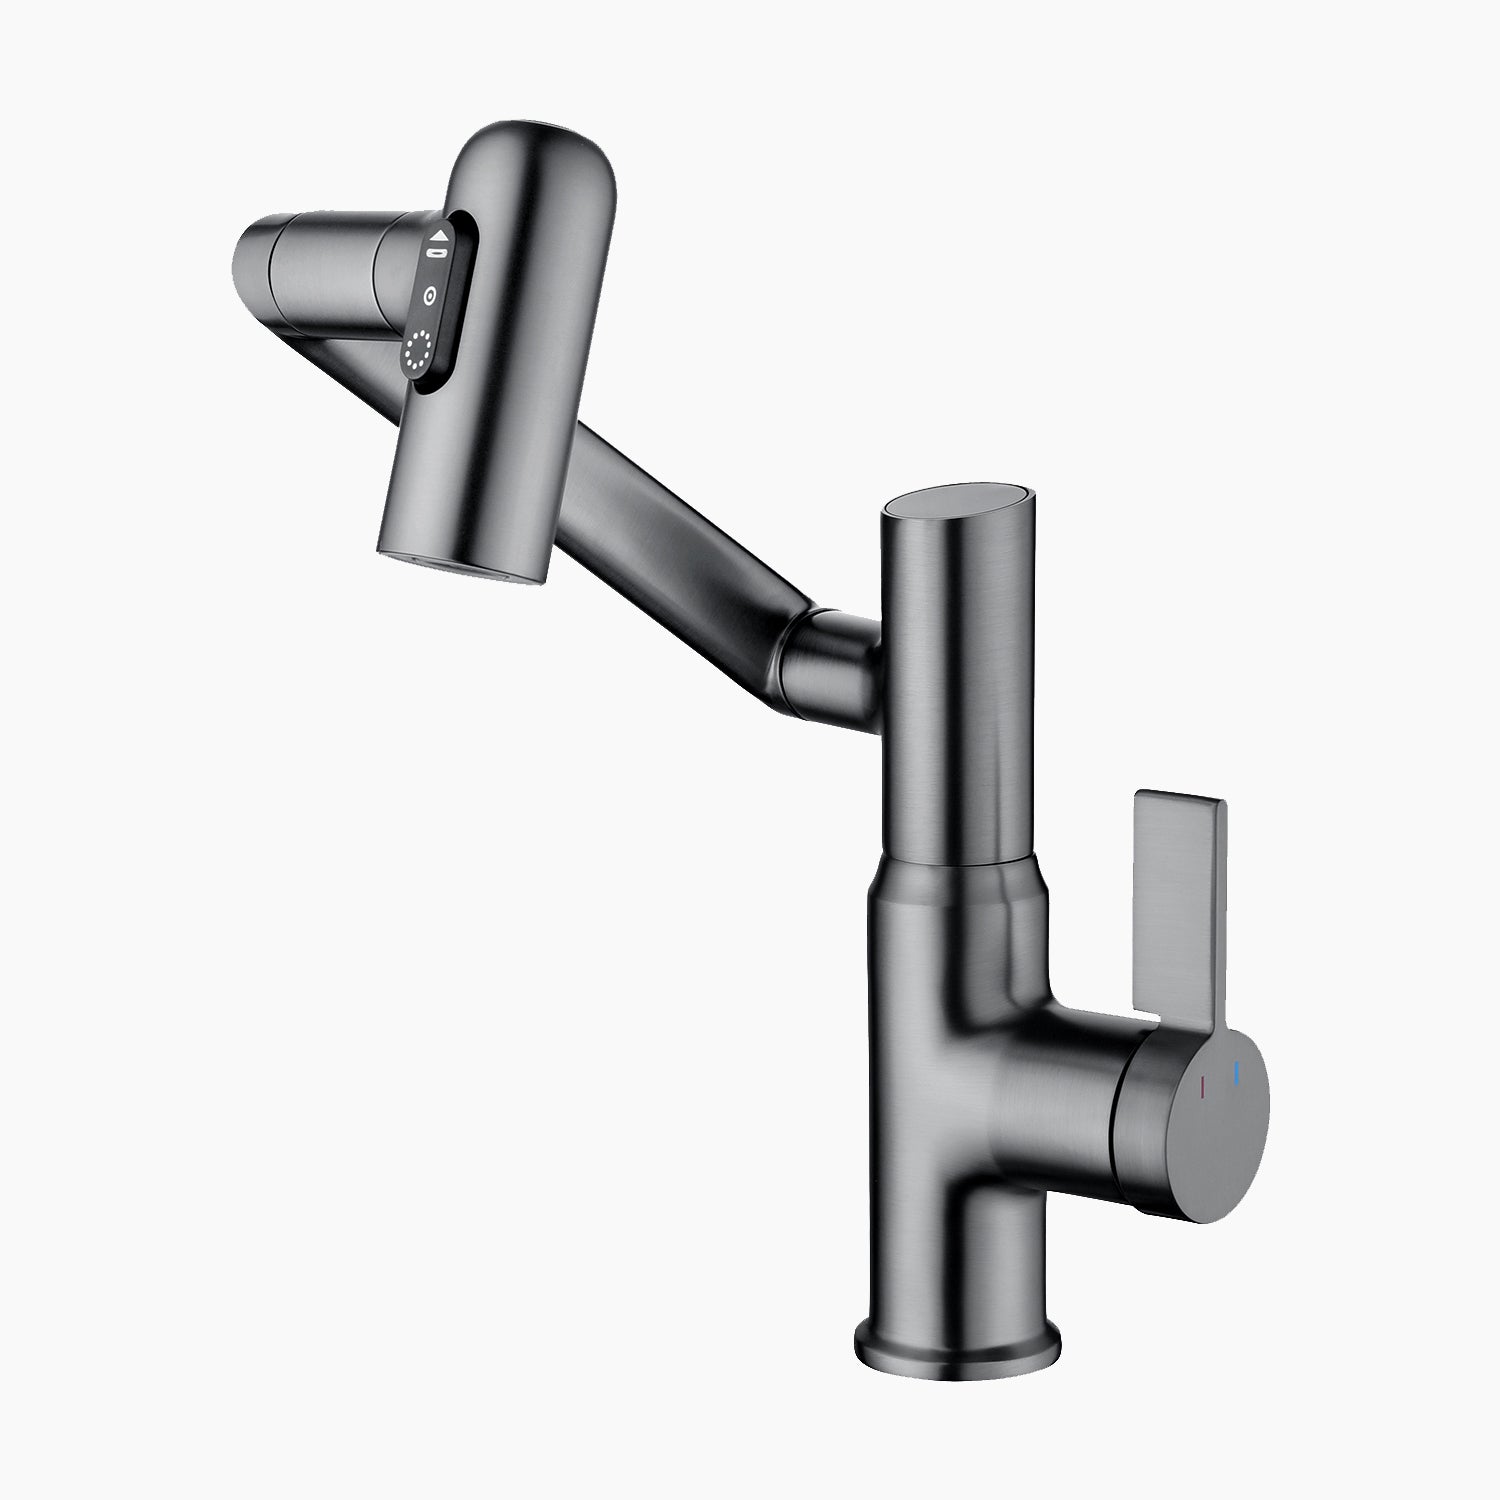
How to Install a Kitchen Faucet: A Step-by-Step Guide
Got a leaky or outdated single handle kitchen faucet? Installing a new one might seem like a plumber’s job, but guess what? You can do it yourself! With just a few tools and a bit of patience, you’ll have your new faucet up and running in no time. Let’s dive into the nitty-gritty of how to install a kitchen faucet and make your sink shine!

Tools Required
Before getting started, gather these essentials:
- Adjustable Wrench – For tightening connections
- Phillips Screwdriver – Handy for securing components
- Safety Goggles – Protect those eyes!
- Pipe Tape – Helps prevent leaks
- Silicone Sealant – Seals everything in place
Installer Tip: Always shut off the main water supply before installing a new faucet!
Step-by-Step Guide
Step 1: Remove Mounting Hardware
Before installing the new faucet, you need to remove the old one. Here’s how:
- Turn off the water supply under the sink.
- Disconnect the water lines using an adjustable wrench.
- Remove the mounting hardware (C-E) from the faucet body (A).
- Lift out the old faucet and clean the sink surface.
Step 2: Installing the Faucet Assembly
Now, it's time to get that new faucet in place:
- Shut off the water supply (again, just to be safe).
- Remove the old faucet (if you haven’t already).
- Clean the mounting surface to ensure a snug fit.
- Thread the new faucet through the mounting hole.
- Secure it on the countertop.
Step 3: Install Mounting Hardware
You’ll need to install the mounting hardware to keep your faucet stable. Follow these steps:
- Install the mounting hardware (C-E) in sequence as shown in the instructions.
- Tighten everything down to fix the faucet firmly in place.
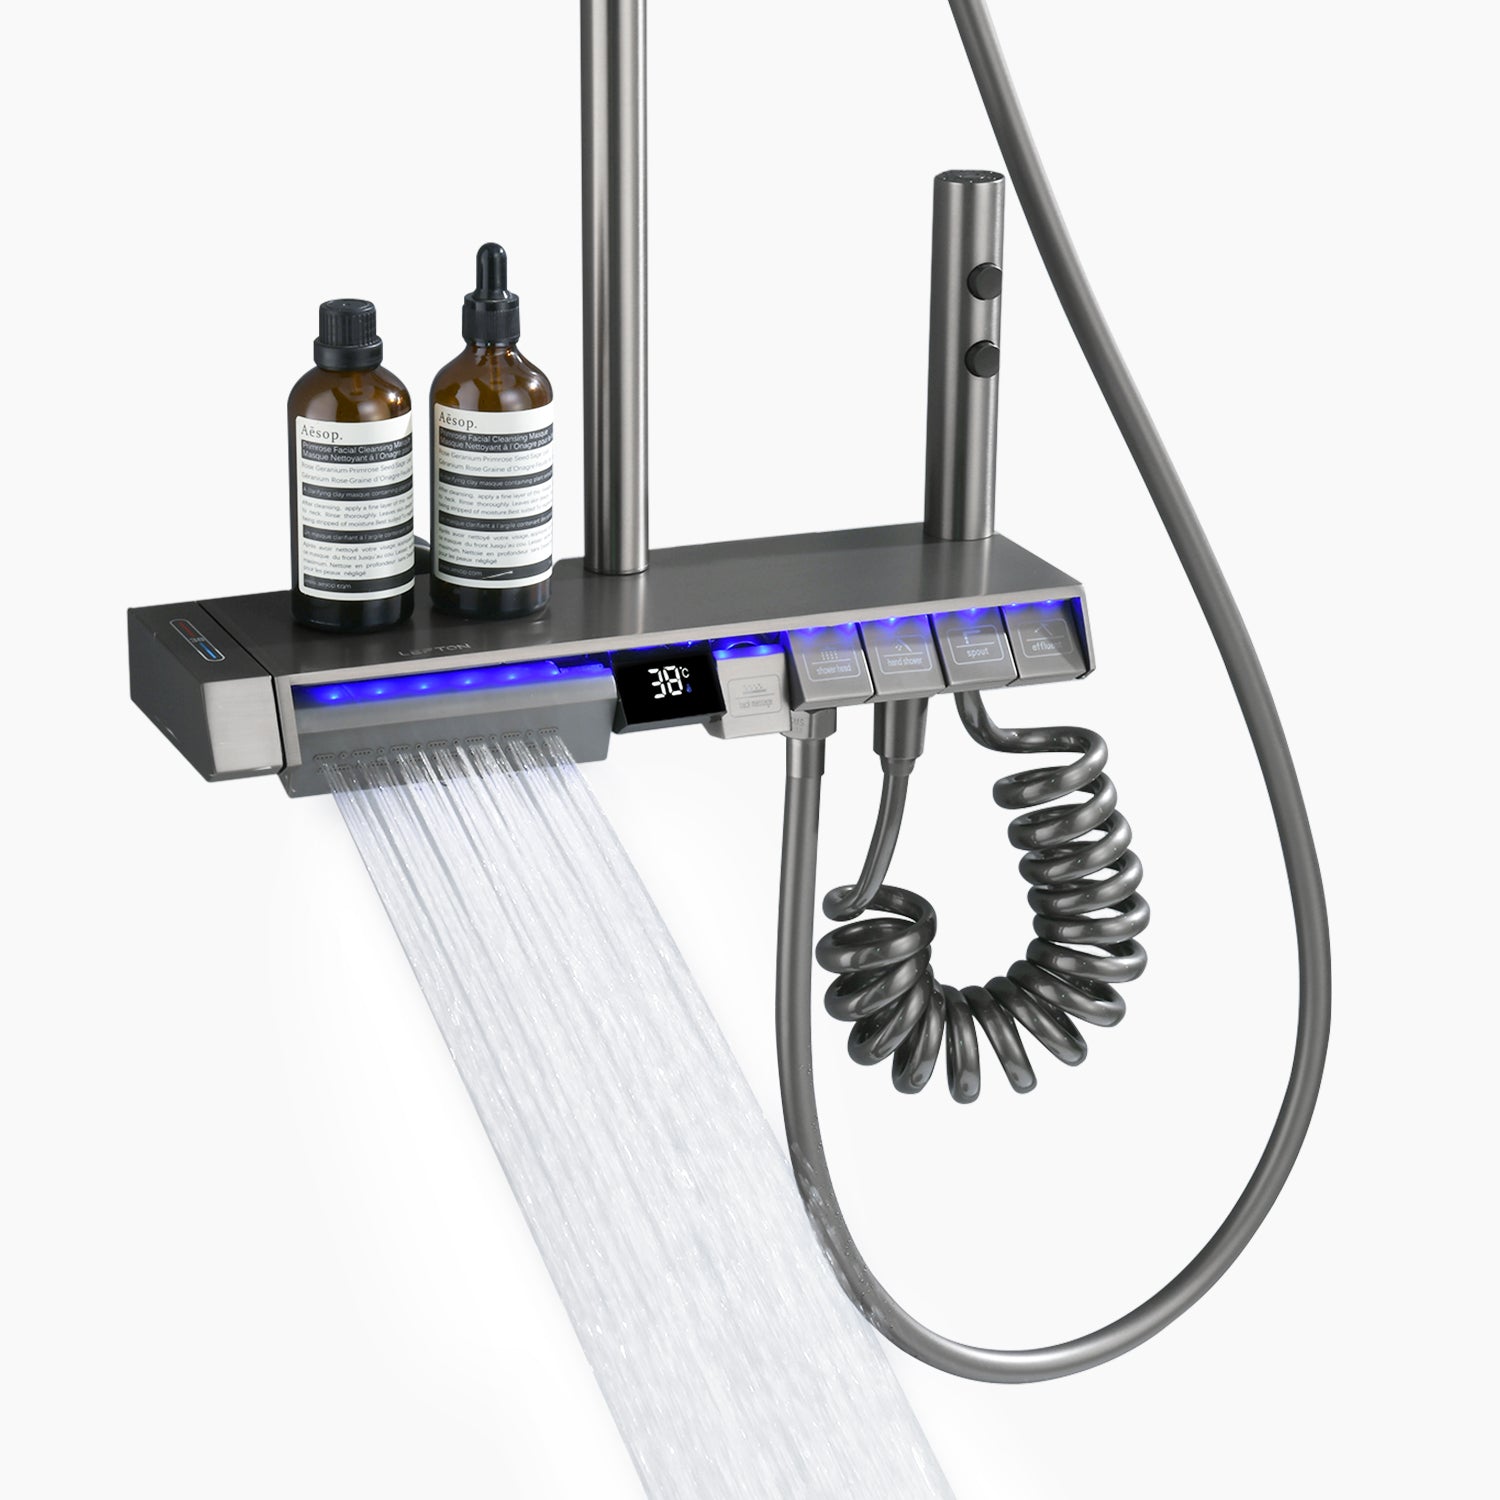
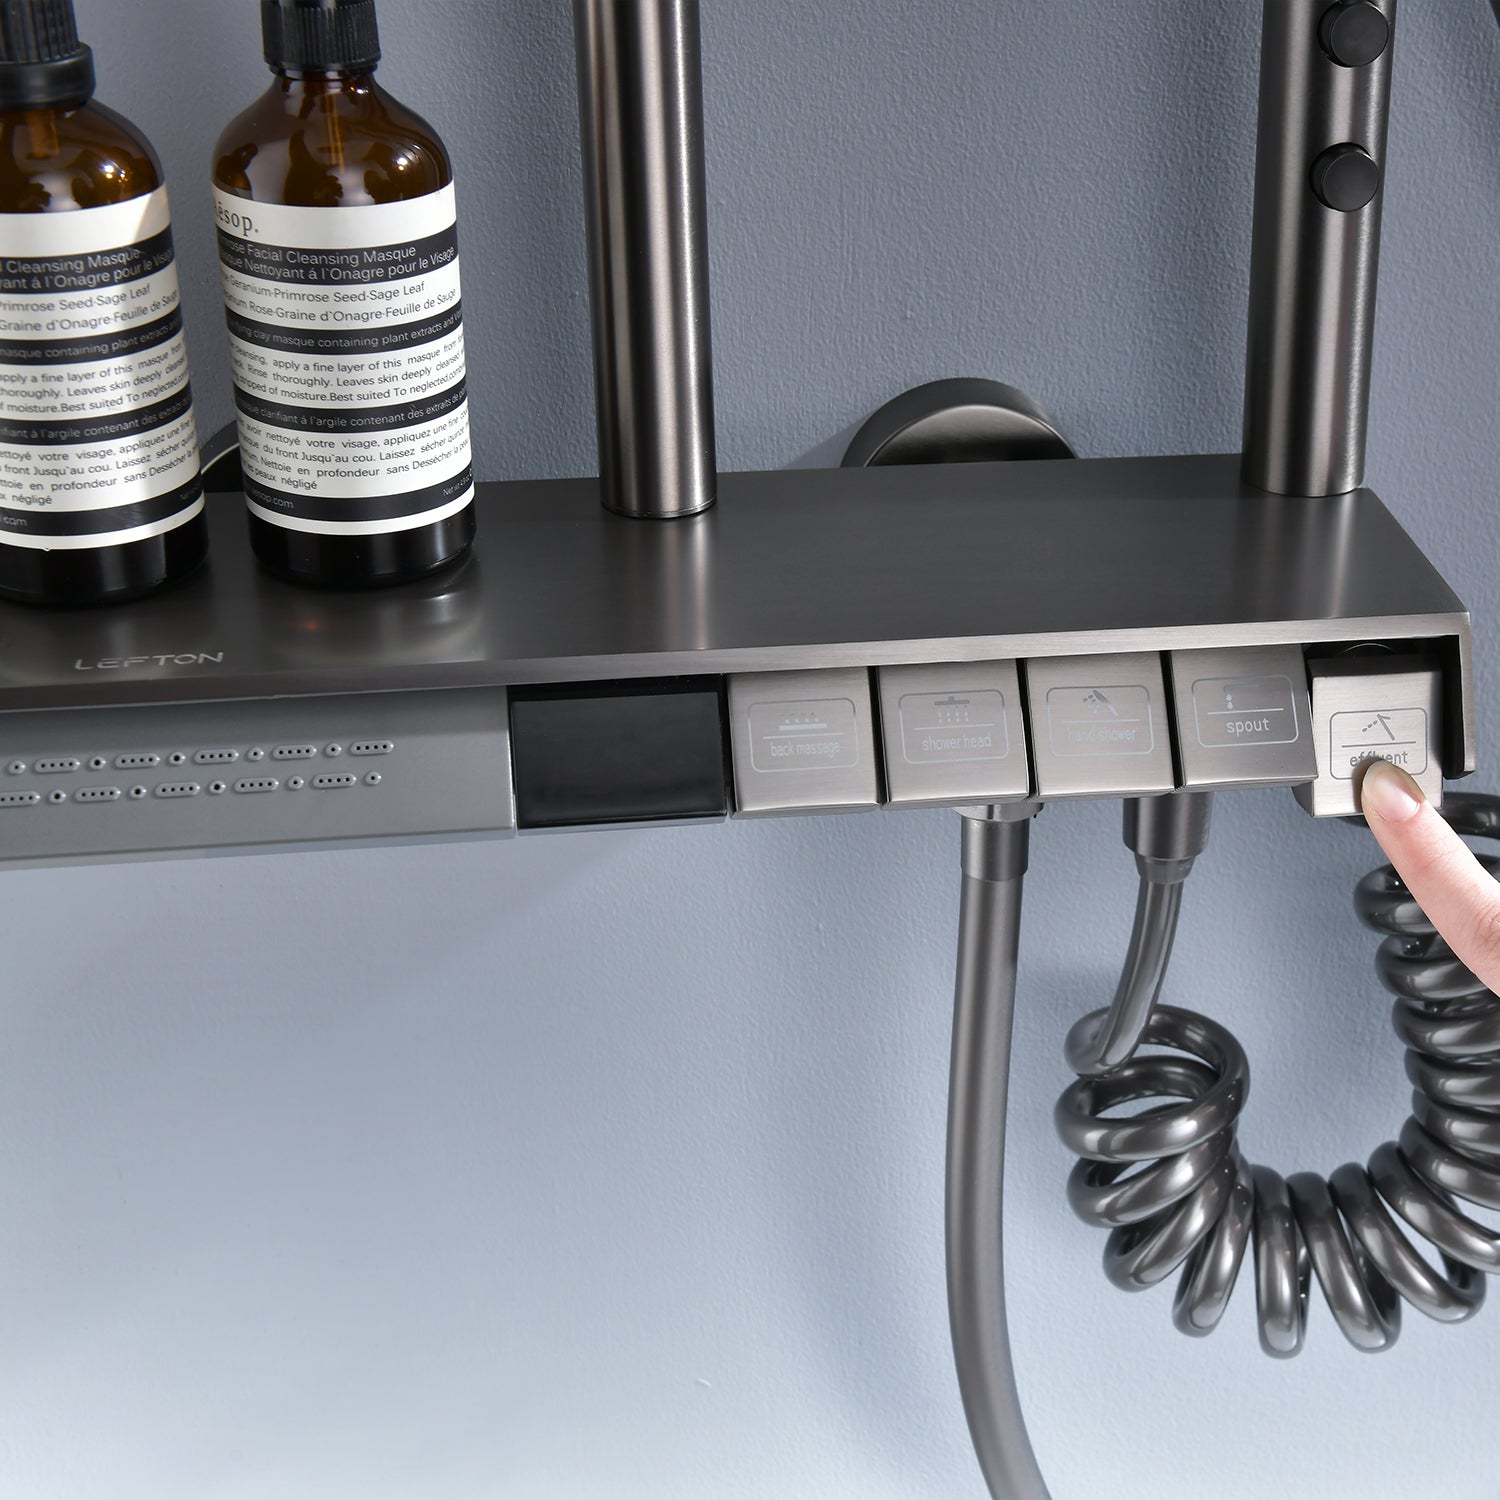
Step 4: Assemble Digital Display Component
If your faucet includes a digital display component, here’s what to do:
- Follow the manufacturer’s instructions to assemble the digital display.
- Secure it properly so it functions correctly.
Step 5: Assembling the Gravity Hammer
A gravity hammer helps balance the pull-down faucet hose. Here’s how to install it:
- Attach the gravity hammer to the pull cord as shown in the instructions.
- Adjust its height to about one-third of the total length for optimal performance.
Step 6: Making the Waterline Connections
- Connect the hot and cold water pipes to their respective supply lines.
- Double-check that you’re connecting the right pipes—hot goes to hot, cold to cold!
- Use pipe tape on the threads to prevent leaks.
Step 7: Turn the Faucet On and Check for Leaks
- Turn on the angle stops under the sink.
- Turn the faucet on.
- Inspect all connections for leaks.
- Tighten the connections if you see any drips and reapply pipe tape as needed.
FAQs
How long does it take to install a kitchen faucet?
Typically, it takes 30 minutes to an hour, depending on your experience and whether you're removing an old faucet first.
What if my faucet is leaking after installation?
Check all connections and make sure they’re tight. Apply pipe tape to any threaded areas that may be loose.
Can I install a kitchen faucet without a plumber?
Absolutely! With the right tools and careful attention to instructions, installing a faucet is a DIY-friendly project.
Do I need to use silicone sealant?
It’s a good idea! A small bead of silicone sealant around the base of the faucet helps prevent water from seeping under the fixture.
Conclusion
And there you have it! Now you know how to install a kitchen faucet like a pro. With just a little effort and the right tools, you’ve upgraded your kitchen in under an hour. So go ahead, give your sink a test run, and enjoy your new faucet!
探索更多
分享這個
Popular posts


發表評論